After skin care, it feels reasonable to take the next step, which for many of us is make-up. Some of us love make-up and skin care products, others of us might think that make-up mostly takes too much time. Sometimes we don't have time for everything and sometimes we spend a lot of time to achieve exactly that cat-like look we so often see in magazines and on social media.
I'm picky about my skin care when it comes to content and ingredients, and that's why I thought I'd share my favorite make-up products in the Clean Beauty category that are without:
- Silicones
- Mineral oils
- Parabens
- SLS
- PEG
- Artificial fragrances
- PFAS substances*
- Plastic particles
In addition to that, I thought I'd share my makeup tricks.
So let's get started! :)
In my make-up bag you can currently find Clean Beauty products such as:
- 2nd skin foundation from 100% Pure, I use color 3 and 4
- Cocoa Pigmented Bronzer from 100% Pure in the color Cocoa Glow
- Blush: Natural Powder Trio Blush from Benecos in the color Fall in Love
- Eyebrow pencil from puroBIO Cosmetics in the color: Ash Grey
- "Un" cover up concealer from Rms Beauty in the color: 00
Products that are not Clean Beauty but are still favourites:
- Mascara Space Intense from CAIA
- The eyeshadow palette Mini Retro Palette from Natasha Denona
- Lipstick: Le Phyto Rouge from Sisley in the color: 20 Rose Portofino
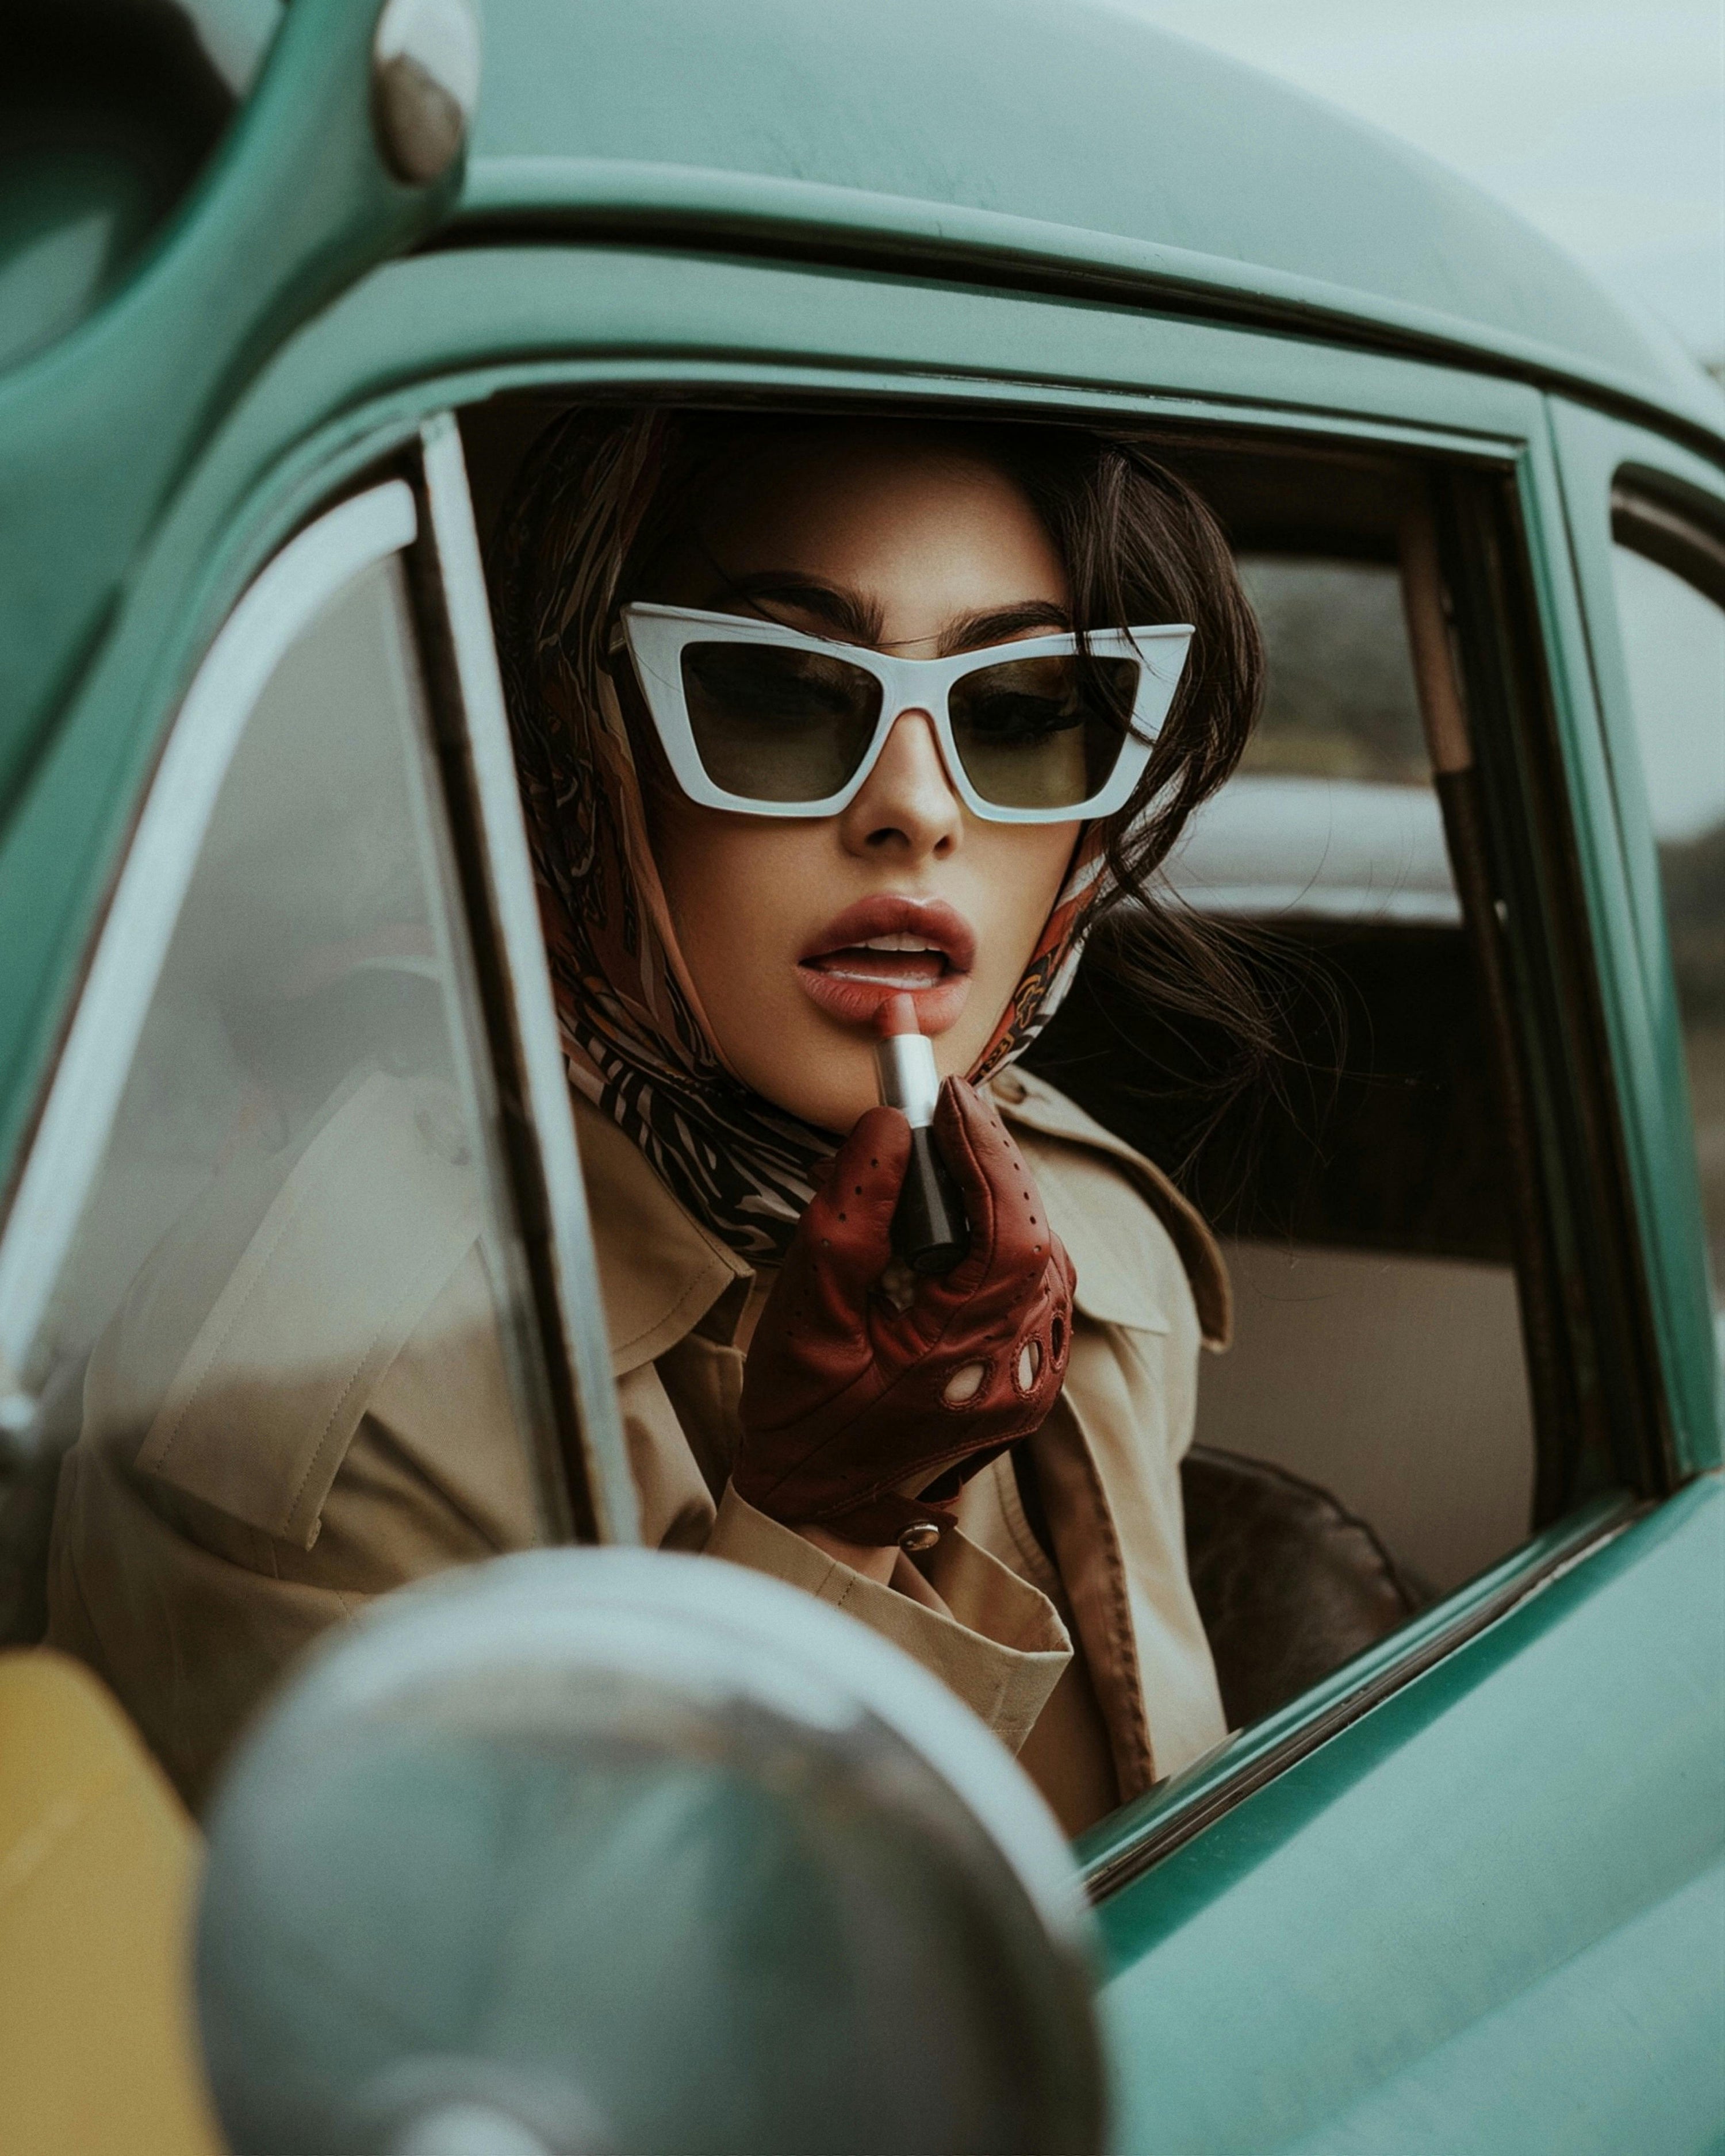
If you watch the film, you will see how the make-up looks with these products. I am medium blonde, have blue/grey eyes and fairly neutral to golden skin tone. Now it's been a long time since I saw the sun so right now I'm using colors that match my winter skin.
Note! There are Clean Beauty brands that have both nice lip colors and eyeshadows. There are also excellent mascaras in the category, e.g. this one from Kjaer Weis. Tips for Clean Beauty brands with good eye shadows are: Jane Iredale and Kjaer Weis A super nice and affordable lip product that I highly recommend is: Puro Bio's Lipstick pencil in the color Mauve Pink no. 24 which costs SEK 74! Bargain, in my opinion! However, if you have a tendency to dry lips, you may need to put some lip balm on top!
My 5 best tips
- Both based on mine stereotyped and general
- Tip 1: Eyes. Instead of using eyeliner, kajal and hard markings around the eyes, I use a brown to dark brown pigmented shadow (without glitter) and apply it on the upper and lower lash line to get a more intense eye makeup. I also use the same shadow to create the classic "cat-eye look", i.e. I follow the shape of my eyes and the direction of my outer/upper eyelashes and shade diagonally upwards to achieve that cat-like look. Then I blur to the desired shading using a clean soft brush. My favorite shade comes from Natasha Denona's palette Mini Retro . I also use the rosy color on the outer edge of the upper eyelid towards the temples to harmonize with the bronzer. See image below for examples of how and where you can apply eye make-up.
- Tip 2: Lips. The older we get, the less color we naturally have in our lips. So a tip I got from a make-up artist once was to dare to have a little more color on the lips. I still like to use quite nude lip colors but e.g. I think the lipstick Le Phyto Rouge in the color Rose Portofino gives a good kick of color to the face. But to soften the color somewhat and highlight the lip contours, I actually use it Eyebrow pencil from puroBIO as a lip pencil. I apply lipstick first and then use the "blonde" eyebrow pencil to " blur" the color a bit/blend it out. This tip works if you use a light brown lip pencil. Of course, you get the opposite effect if you use/have a darker eyebrow pencil.
- Tip 3: Bronzer. I love bronzer and besides Cocoa Glow from 100% Pure I sometimes cheat and use Tea To Tan Face & Body Bronzer from By Terry. Bronzer gives the skin glow and a slightly tanned look. My tip is to use bronzer both on the temples, on the tip of the nose, to highlight the jawline and of course on the cheeks. Most of the time I only use bronzer and skip blush.
- Tip 4: Skin. Finally, I always take a clean large brush, think powder brush, and blend out the bronzer and shadows to blend this in so the make-up is "seamless". If you want, you can finish by using a facial mist to lock in the make-up so it stays in place better.
- Tip 5: Brushes. Finally, I can advise on choosing make-up brushes with care. Find brushes that suit you and how you want to work. Clean the brushes at least once a week and never mix too many colors with the same brush as there are always residues left from pigments that can make the finish look "heavier". For example, get:
- A foundation brush
- A blush brush
- A concealer brush
- An eyeshadow brush/eye shadows
- A powder brush
I have treated myself to super good brushes that last a long time. It can be more expensive to purchase, but considering how it keeps its shape and quality over time, sometimes the expensive purchases can be cheaper in the long run. Which in the end is both good for the environment, more luxurious for you and better for the wallet.
Wishing you a nice week!
Have a good time :) /Sofie
 Picture and below text from janeiredale.se
-
Eyelid
The moving part when you blink. Use a palette's medium colors here. -
Globe line The place where the eyelid naturally folds. Darker colors give contour to the eye shape.
-
Brow bone The area directly below the brow bone. Light colors create a highlighter effect and help when toning colors together.
-
Upper lash line The area of the eyelid closest to the lash line. Dark colors can be used here instead of an eyeliner or eyeliner.
-
Outer corner of the eye The area above/outside the eye towards the temple. Dark colors reduce and create depth.
-
Inner corner of the eye The area above/inside the eye towards the root of the nose. Bright colors highlight and magnify.